Please note : This help page is not for the latest version of Enterprise Architect. The latest help can be found here.
Contents |
| Prev | Next |
Add a Defect
Add a Defect Record
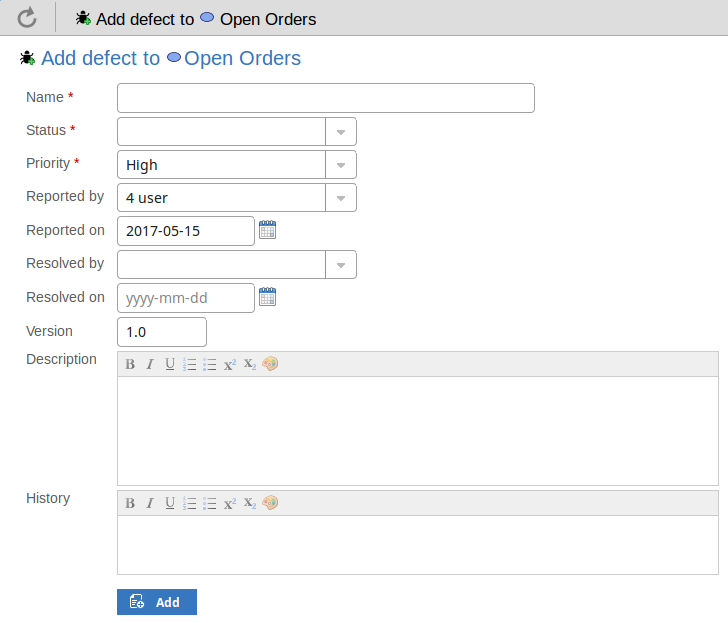
In the drop-down menu, select the 'Add defect' option. The 'Add defect to <element name>' dialog displays.
Mandatory fields on the dialog are indicated by a red asterisk (*).
Complete the fields as directed here.
Field |
Action |
See also |
|---|---|---|
|
Name |
Type an appropriate and meaningful name for the reported defect. |
|
|
Status |
Click on the drop-down arrow and select the appropriate report status; that is:
|
|
|
Priority |
Click on the drop-down arrow and select the appropriate priority value; that is:
|
|
|
Reported by |
Click on the drop-down arrow and select the name of the person reporting the defect. |
|
|
Reported on |
Click on the calendar icon and select the date on which the report was made. |
|
|
Resolved by |
If the defect has been resolved, click on the drop-down arrow and select the name of the person who resolved it. |
|
|
Resolved on |
Click on the calendar icon and select the date on which the reported defect was fixed. |
|
|
Version |
Type in a version number or letter to indicate any evolution of the same defect. Generally, '1.0' indicates the first instance of a defect. |
|
|
Description |
Type in a description of the defect, what it is, what the solution might be, and why it is a problem. You can format this text using the facilities provided in the Notes toolbar. These are:
|
|
|
History |
If there is any background to this defect, such as previous occurences, document them here (you might copy the 'Description' from the last version or iteration of this defect report, for example). It is recommended that you include a date stamp and user initials in the entry. You can format this text using the facilities provided in the Notes toolbar. |
|
|
Add |
Click on this button to submit the details and create the defect report on the selected element. This message is displayed: Defect <name> was successfully added to <element name>. Either:
|
Learn more
